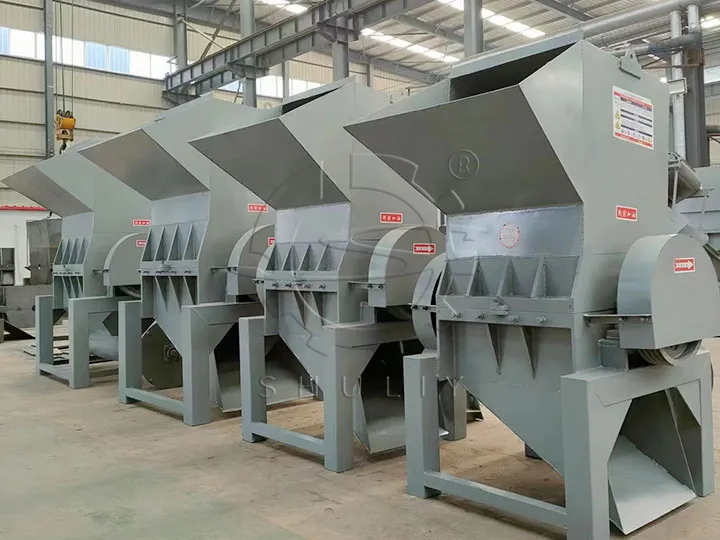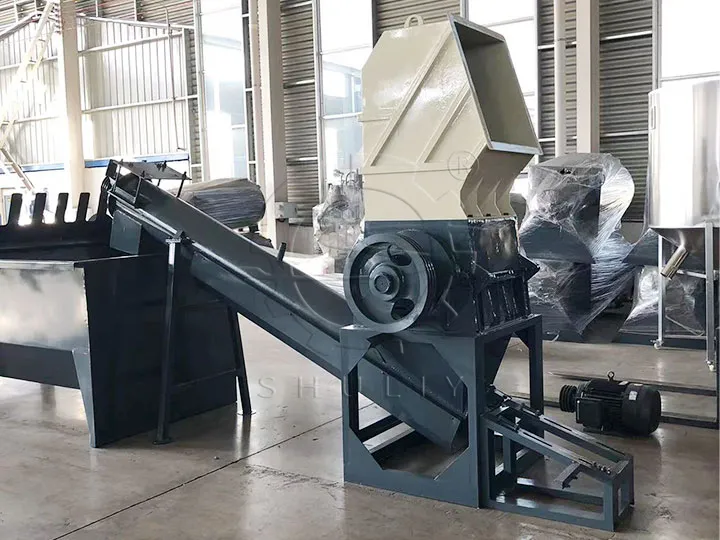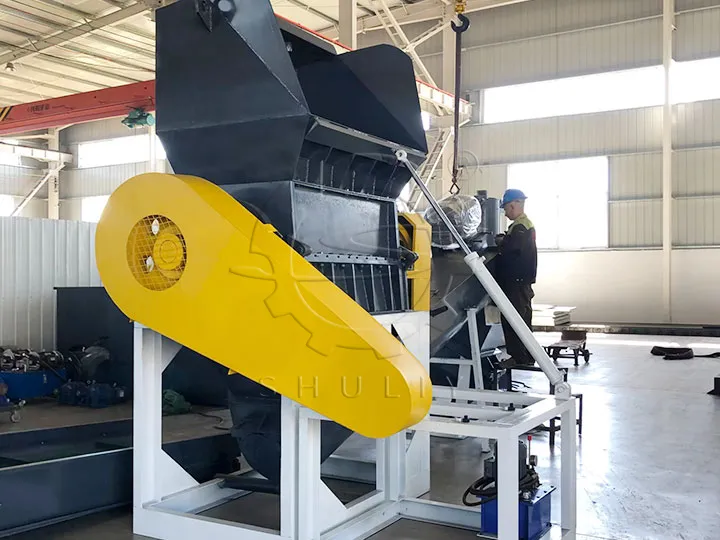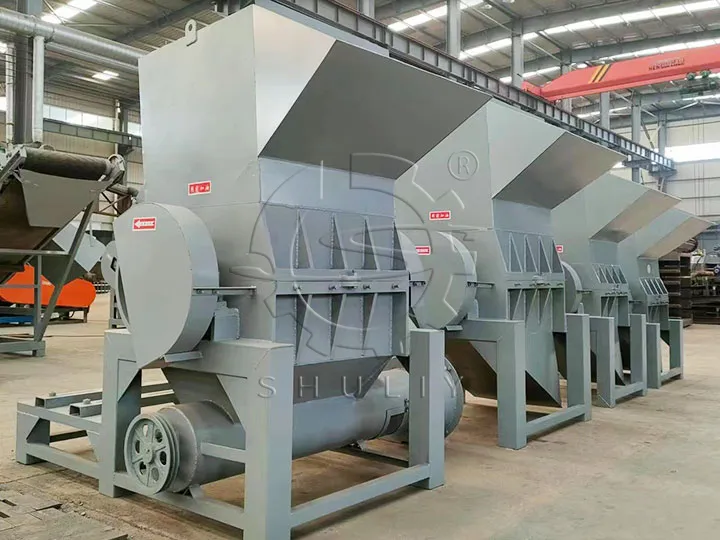
Although the assembly of the waste plastic shredding machine may seem troublesome, as long as you follow the steps below carefully, you can complete the assembly.
Waste plastic shredding machine mainframe assembly
- First, place the base frame on a flat surface and tighten the screws on the base frame with a screwdriver.
- Then put the main body of the machine on the base frame and fix the main body with the base frame with a screwdriver.
- Then, install the waste plastic shredding machine tool on the main shaft and tighten the screws.
- Finally, fix the hopper on the main body, so that the assembly of the main machine is completed.

Motor assembly
- First, install the motor on the base of the main machine and secure it with a screwdriver.
- Next, install the drive belt (belt) between the motor and the main body of the machine, paying attention to the degree of tension.
- Finally, connect the wires between the motor and the main body.

Belt assembly
- First, place the belt on the pulverizer spindle and note the direction of the belt.
- Next, gently pull the cutter shaft by hand and observe the tension of the belt.
- Finally, use a screwdriver to hold the belt in place.

Panel assemblies
- First, line up all the holes in the machine’s faceplate with the holes in the main body.
- Then, use a screwdriver to screw the panel to the main body tightly.
- Finally, install the machine’s on/off button and power cord.
